
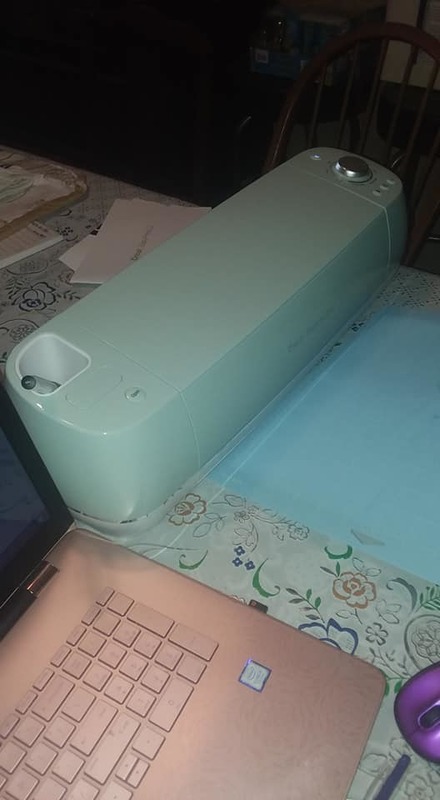
When I found out that I would be working with Cricut, I was really excited to be able to experience firsthand how the Air 2 machine works and how to make different designs with the Easy Press 2 that I also received with some accessories!
I have a close family member helping out with these projects, so we're learning how to use everything together as a team. It's really cool to see the first project come together as well as it did. We wanted to focus this first post to Halloween related for my kids, since the first post is in October I'm doing.
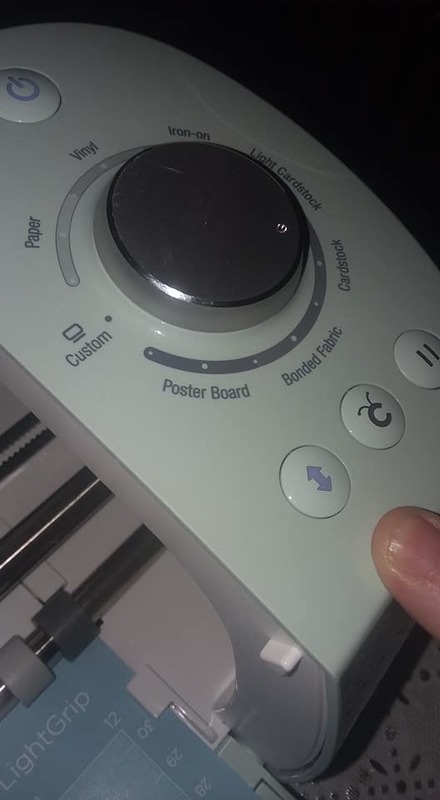
We decided to subscribe to the Cricut Design Studio on the Cricut website and are glad that we did. They have so much selection for us to choose from when it comes to designs, both kid related and non-kid related designs. You will have to check it out for yourself to see if they have what you're looking for!
We also received an Easy Press 2 to use with the Air 2, and this is awesome to have! The size I got is the 12x10 size, which is perfect for bigger projects for adult size shirts and kid size shirts alike. It's super simple to set this press up, and plug it in, and put it on the heat you need it on to use your iron ons. We ironed the shirts and onesie prior to putting the design onto them, for better results.

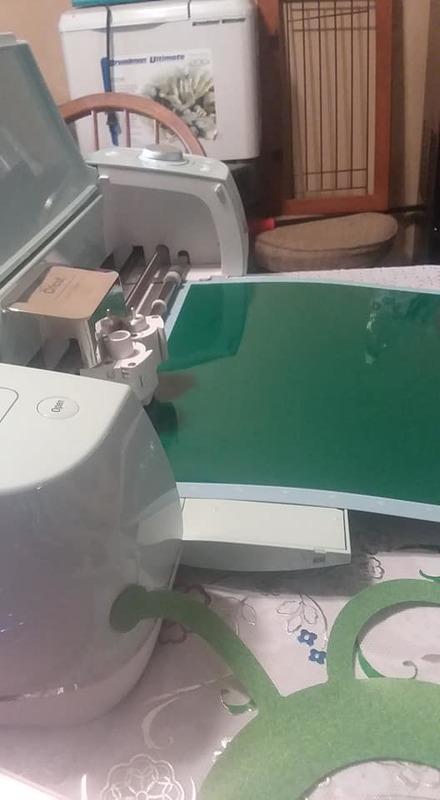
My oldest son chose a really neat snake skeleton type design and his shirt was done first. We used everyday iron ons for their shirts this time around, just so you know. We used the green sheet as his shirt was a bright color green, so that the design blends well to the shirt.
Here's his design prior to cutting it out and placing it onto the shirt to iron it on.

This is the design once it was cut out using the Cricut Air 2.

This is with the everyday iron on, on the shirt but not yet ironed onto it yet.

We ironed the shirt with the Easy Press 2 prior to ironing the design on and you can see that here.

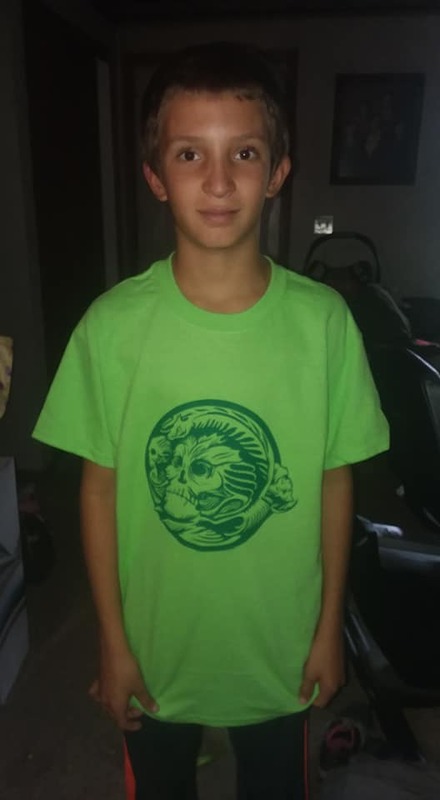
Here's his finished shirt with the Halloween design iron on with him wearing it. He loves it and can't wait to wear it to school!
With this being our very first time using a Cricut product, it took us a bit longer to do the first shirt, but once we did that, all of the others were quicker to get cut and printed/ironed on!
Here are the other four products that we used everyday iron ons for, with t-shirts and a onesie. These turned out wonderfully and look amazing! I am so thrilled with how they turned out, and all of our kids love their shirts!
This is our youngest's onesie that we did for a little pink ghost that I thought was an adorable design. The size of the onesie is 0 - 3 months in case moms are wondering while reading this.

Here's our four year old son's shirt that he loves! He was excited to have a bat on his. His turned out well with how we decided to go with the colors. He loves Halloween and is looking forward to showing his shirt to his friends at school.

Here is our oldest daughter's shirt. I think this one is super cute with the cat and a witch's hat! And she loves it too. These were so much fun to make and we're excited to do many more projects with the Air 2 machine, and will be doing another fun project for November and December to share with you guys, so keep an eye out!

This final picture has the other shirt which is our toddler daughter's shirt in it, which is the cat on a pumpkin!


Those came out really well! I have been going back and forth about getting a Cricut but I am not sure where to begin. I am looking forward to seeing what else you create.
ReplyDeleteReally cute.
ReplyDelete